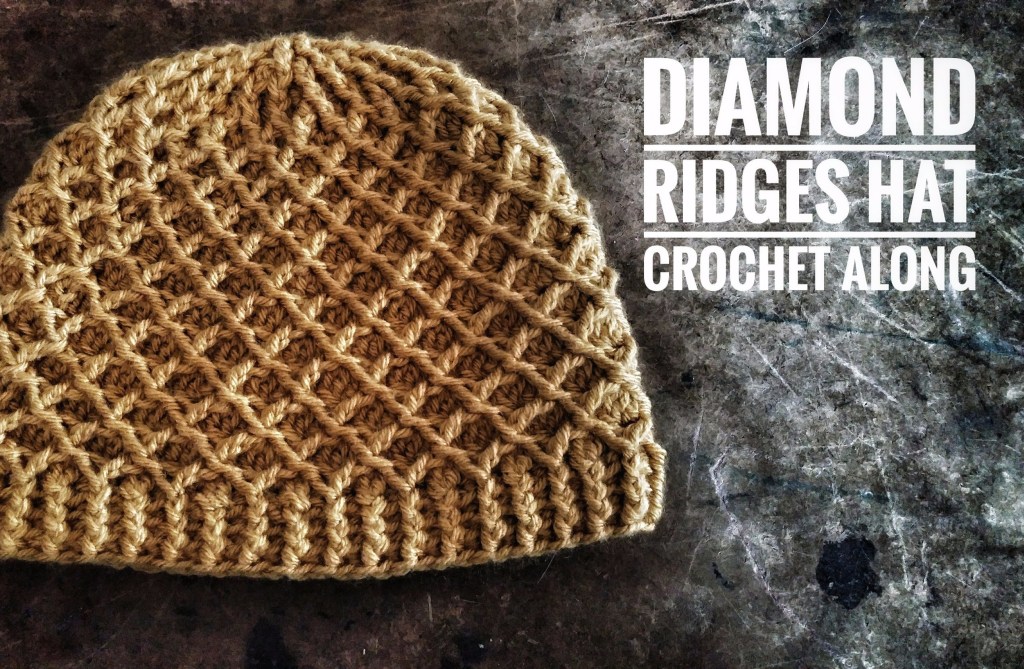
You gotta try this beanie pattern by Kristy Ashmore!
It’s absolutely beautiful, and I’m going to help you every step of the way … almost. We all want Kristy to get her props for coming up with such a wonderful pattern, so download her free pattern, here, and come back for some tips on how to work it.
So, are you ready for this pattern? Here are some skills you should know in order to breeze through this pattern:
-
- You will need to know how to read patterns —- a little bit. We will be starting the video tutorial on this pattern at Row 5 to ensure that everyone downloads the pattern and Kristy gets credit, but I’ll leave a few tips to help you just in case patterns really aren’t your thing. You will need it for stitch counts. If you can make it to Row 5 all by yourself, you are ready for this pattern.
- You will need to know, kinda, how to fpdc (front post double crochet). I kinda go into it in Round 5, but if you don’t quite know how to do it, you’ll need to watch a short video on fpdc before you begin. It’s easy, so don’t let that dissuade you.
Good luck, and share your finished product on my Facebook page: https://www.facebook.com/yupimcrafty/
Let’s begin … skip to the “Round” that’s tripping you up for more support.
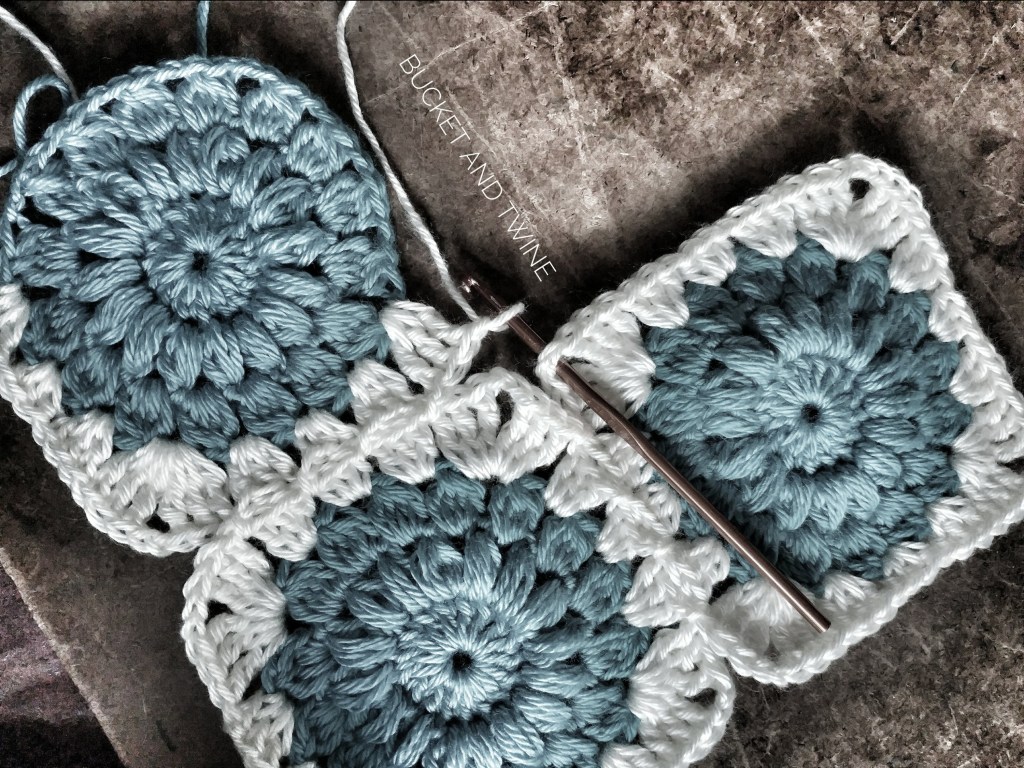
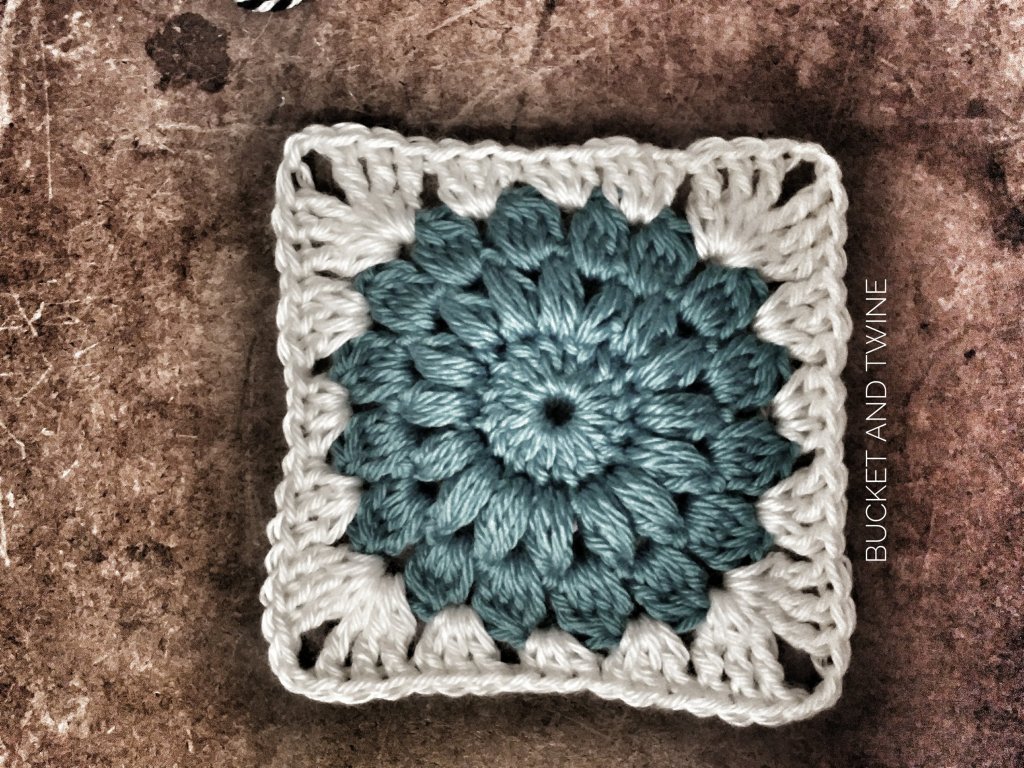
Round 1: You are on your own, but not entirely … if you need help making an adjustable ring (aka, the magic circle), watch the first minute or so of my granny square video. I get right to it, so you won’t have to skip through all kinds of silly introductions.
Round 2: You will be alternating double crochets and fpdc (front post double crochets). These are done as an increase around, so you should end up with twice the number of stitches as when you begin. Rather than doing both stitches in the same hole, though, you will be dc’ing into the stitch and then fpdc’ing around the same stitch you just worked.
Round 3: This round is exactly the same as Round 2
Round 4: This time, you’ll be increasing with two fpdc around the same stitch (st) every third stitch … remember you aren’t increasing every time you get to a fpdc!
Round 5: Here’s where it gets fun! We start to work our clusters, which are the bottom halves of our diamonds. Click here to open the video in another tab.
Round 6: In this round we complete our diamond shapes, and prepare the foundation for our next set of diamonds. Click here to open the video in another tab.
Round 7: Things are getting easier, and you’ll begin to pick up the rhythm Click here to open the video in another tab.
Rounds 8, 9, 10, etc.: Our pattern repeat is solidified, and you can finally autopilot the rest of this pattern! Click here to open this video in another tab.
Finishing up: One little note on the ending rib stitch. I thicker band always looks a little nicer than a skinnier one. She has you repeat the alternating fpdc and bpdc (back post double crochet) for only two rows. In my hat, I repeated it for twice that. I think it looks a little more finished.
Hope I was helpful. Hope you made it through, and I’d love to see your finished product!
Follow my YouTube Channel for more tutorials. And, follow me on Facebook at https://www.facebook.com/yupimcrafty you’ll never miss one of these freebies again.
Thanks again!


Leave a comment