
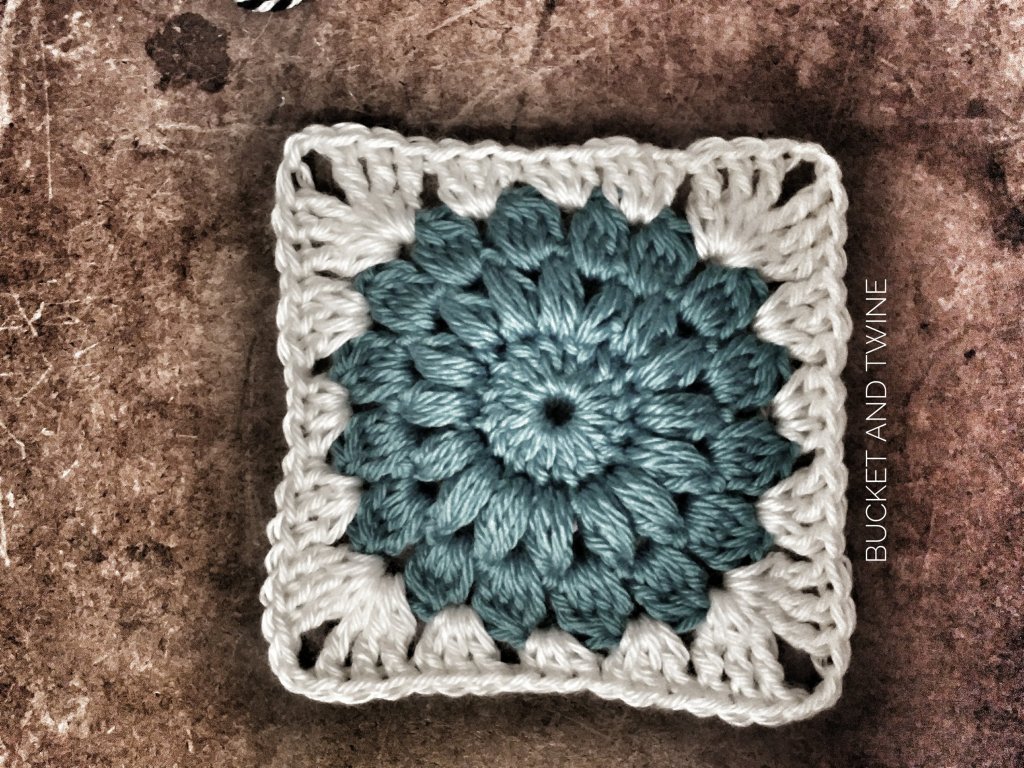
It’s amazing how a little texture can upgrade the simple granny square. Today, I’m going to show you how you can alter this simple pattern with a simple “front post double crochet.”
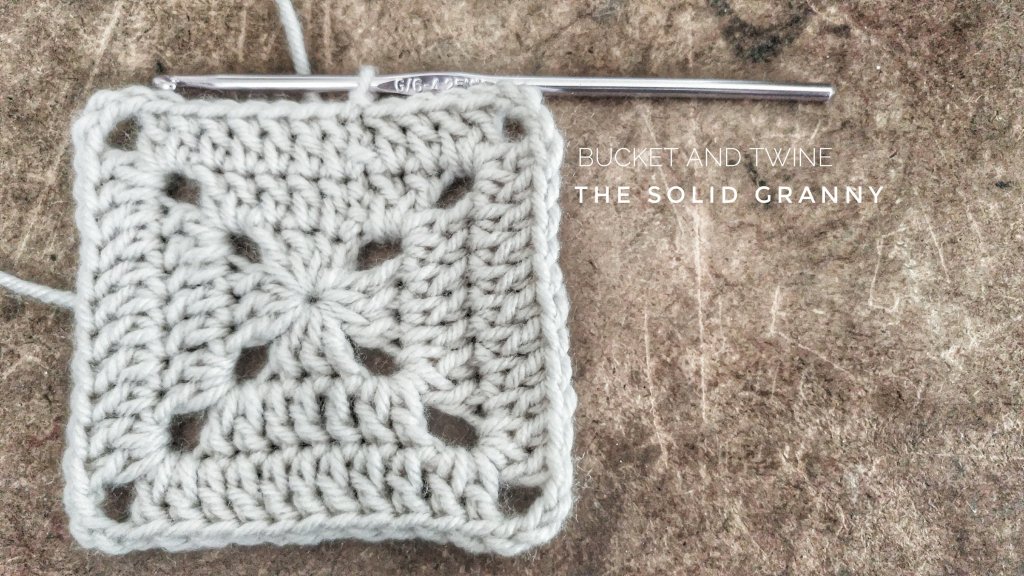
If you don’t already know how to make a solid granny square, check out this blog post first. The Ridged Granny Square is very similar, and knowing how to make the basic solid granny will help you on your way.

This technique is so simple you’ll be coming up with your own patterns in no time. You will simply be substituting a front post double crochet for a standard double crochet throughout the pattern. As the front post double crochets (fpdc) stack on top of each other, they begin to form a ridge that creates your texture.
So on with the technique:
- Begin your square with a 3dc, chain 2, 3dc, chain 2, 3dc, chain 2, 3dc, chain 2.
- Slip stitch into the next two stitches (this puts your starting point in the middle double crochet so that you can hide your join beneath your first fpdc (front post double crochet)
- Chain 2 and make a fpdc around the middle double crochet (if you don’t know how to fpdc, it’s basically a dc around the post instead of into the stitches … see the video if you need more explanation), dc into the next stitch and then make a corner into the chain 2 space (2dc, chain 2, 2dc), continue around your square in pattern substituting a fpdc around the middle double crochet of each side. Slip stitch into the top of your first fpdc (IGNORING THE CHAIN 2 THAT WE BEGAN OUR ROUND WITH). NOTE: you will be ignoring the starting chain 2 throughout the pattern, this prevents an increase, and hides your join behind the fpdc.
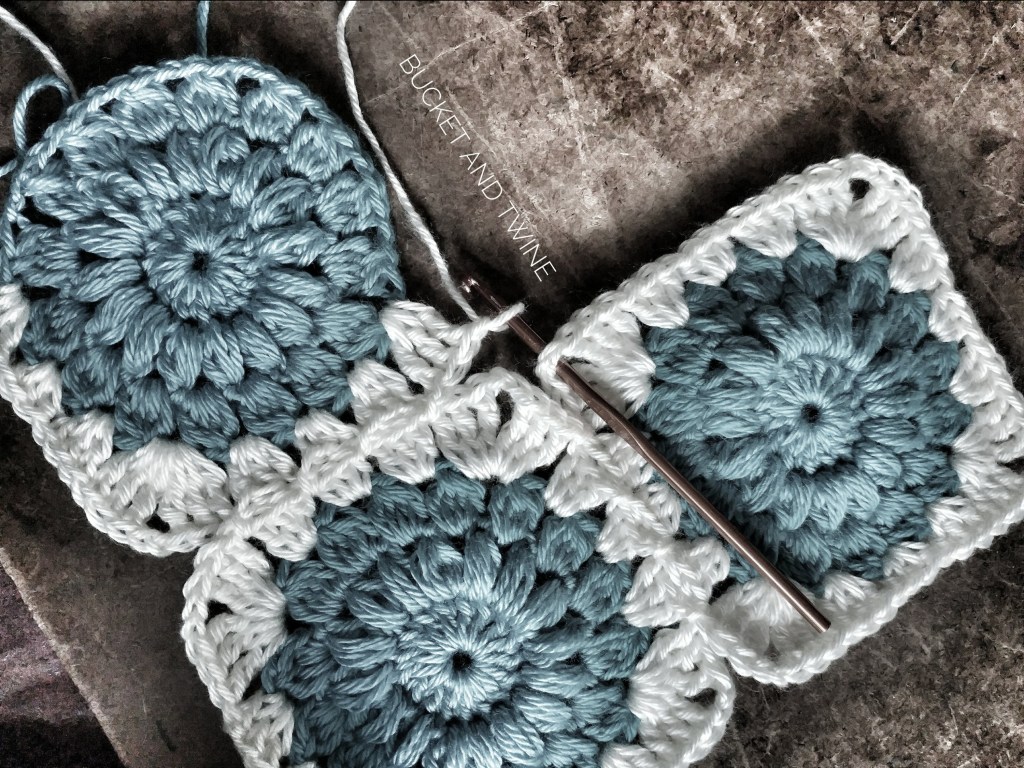
Here’s where you can let your creativity stand out. Where you place your fpdc on the next round will determine how your square will turn out. Be creative! I chose to place my fpdc on every third stitch. So, I have two standard dcs between every fpdc ridge. You can choose three, four, two ridges and then a space … it’s really up to you and the possibilities are numerous!
NOTES FOR YOUR SQUARES:
- The only thing to remember is that when you get to a corner you simply make a corner no matter where you are in your pattern (my video will explain this in further detail). Every corner will only have 2dc, chain 2, 2dc. Your pattern will be picked up on the following row.
- As you make your rounds, fpdc over every fpdc from the previous row to continue the ridge.
- As you make your corners, be sure to count backward from your last fpdc to make sure every side is exactly the same. Whatever was done on one side must be done on the others for your blanket to be symmetrical.
Here’s the link to a full video on how I made my blanket putting two standard double crochets between my ridges. I also show you how to make a fpdc and how to hide your join line.


Leave a comment