
(Pattern notes on the above top can be found here)
You know what’s better than spending hours rewinding and skipping through You Tube patterns? CHARTS!
Visual learners, this one’s for us.
I must admit that I am waaaay late on this one. What have I been missing? Only about a million free patterns from all over the world. No translation required, no ginormous sentences explaining a simple shell stitch, no wondering where the pattern writer is taking you. It’s there. All there. For your gorgeous eyes to soak up.
My first experience with charts was the “Virus Shawl” (pattern here). I struggled. It looked super complicated, but once I understood what all those symbols meant … easy (with a few notes). Most charts use the same language, and once you understand it, you can grab a highlighter or pen and chart your way through. The virus is a little different, but the legend at the bottom generally will steer you in the right direction.

Think about the basic stitches: chains, single crochet, double crochet, triple crochet, etc. These are all the basic foundation of larger stitches like clusters, shells, decreases, increases.
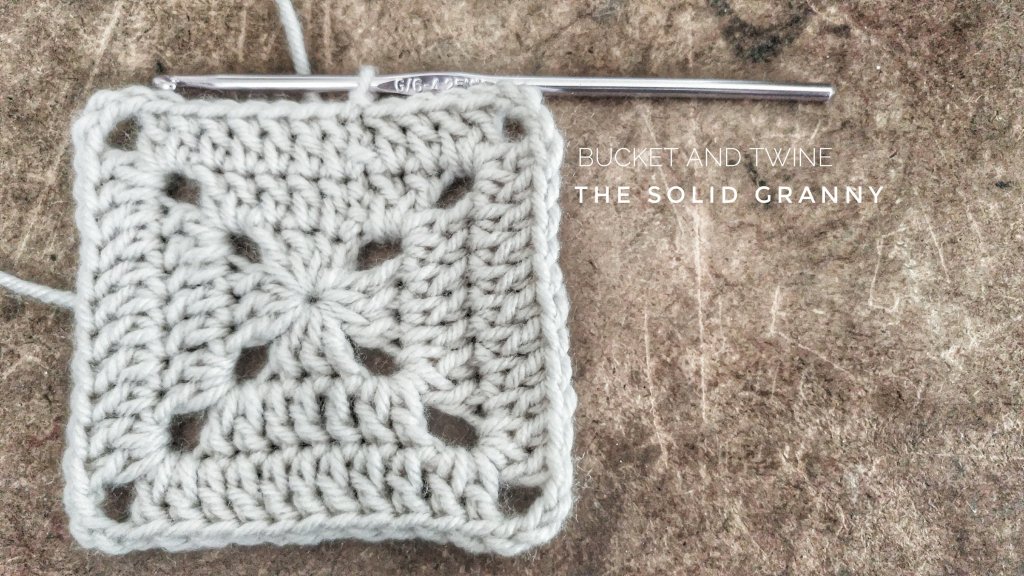
In charts, you rely on these basic stitches to get you through pineapples, fans, clusters, shells, etc. Let’s look at the basic granny square chart …

Recognize it? The arrow tells you where to start. The numbers tell you what round you are on, and the shading helps you navigate (bigger charts don’t have this, and expect you to be able to follow the stitches up and down).
The circles are chains (1 chain for every circle)
The T’s with one line are double crochets (two lines would be a triple, three lines double triple, etc.)
The black dots are your slip stitches; they show you where you want to slip stitch to. So, for this pattern you sl st to close the round, and then you have to sl st to the next dot to start your next chain.
So, now you’re ready for something much bigger, right? The picture at top is only the third chart pattern I’ve attempted. If I can do it, so can you.
I don’t have a finished piece, yet, but let’s get you started … you can download this free pattern and about a dozen others at this Japanese website: http://www.360doc.cn/article/3243271_575361208.html
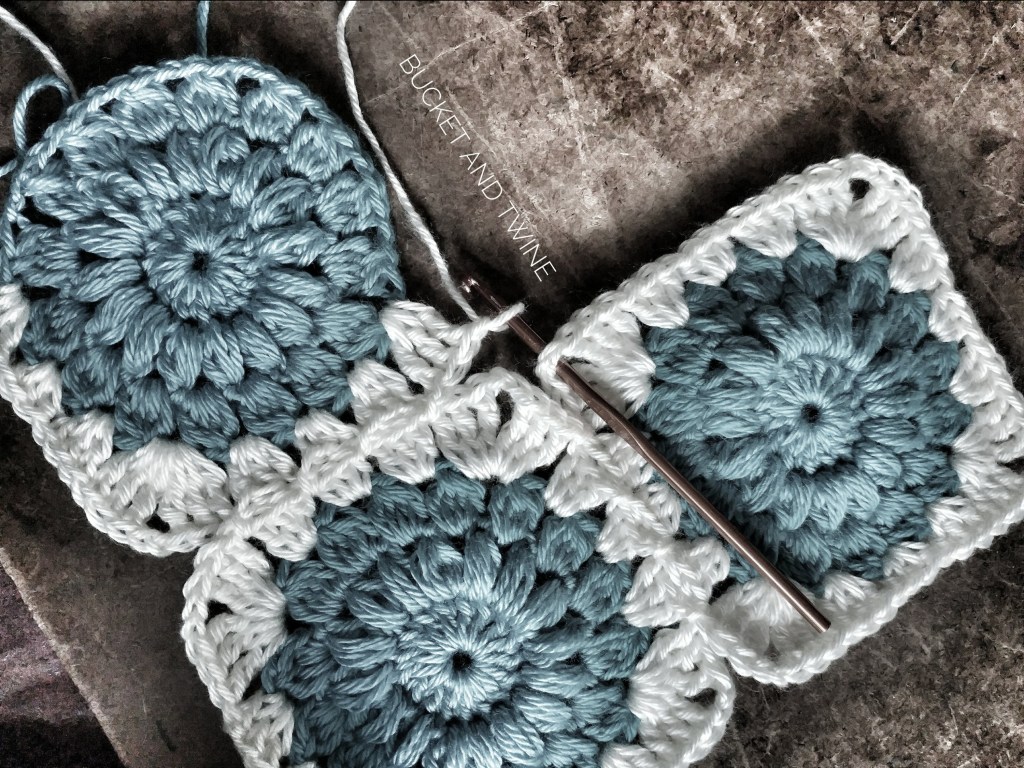
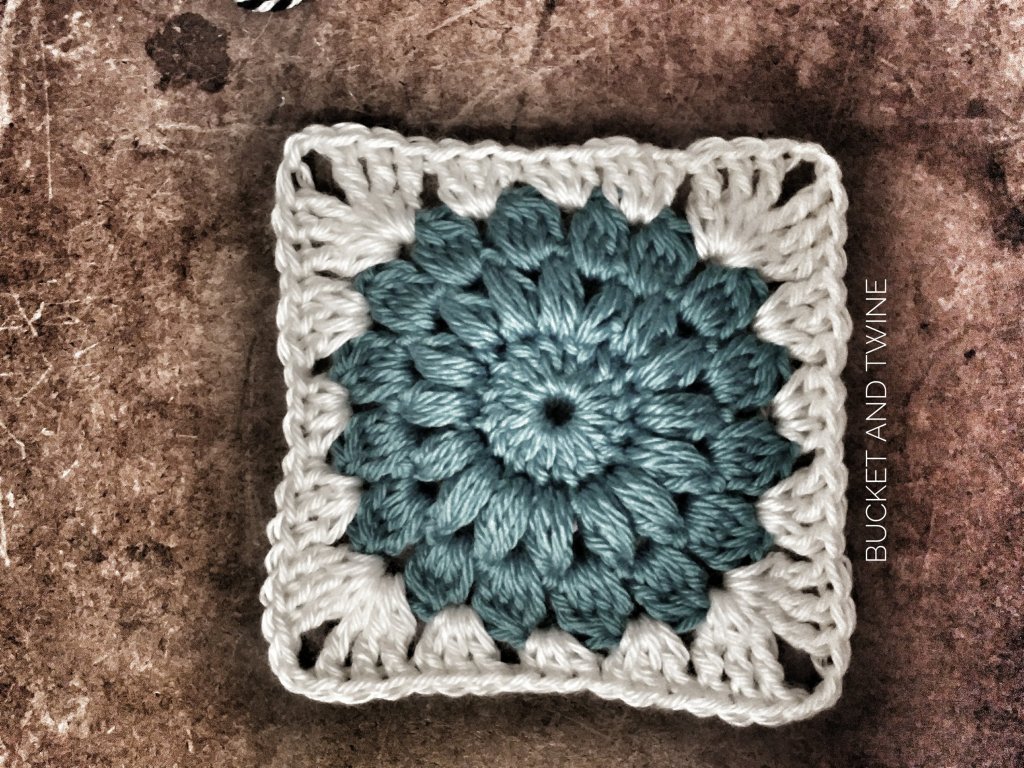
The one I used is Pattern 19. You’ll have to do some scrolling, but I promise it is there as of Feb. 23, 2018. There are three jpg’s for this pattern: a front, a back, and an edging and assembly page. I’ll be posting some lessons I learned about this particular pattern in my “Patterns to Try” page, but here are a few pics of my progress so far.


Leave a comment